Fitting a Doorframe in 10 Easy Steps

Doorframes are notoriously difficult to fit; some joiners even refuse to go near them! Doorframe casing kits have made things easier with their standard door widths, however this doesn’t help much when your doorway is a non-standard size or has crooked walls. Accurate measurements are crucial to achieving a good fit, as is patience. This quick guide will walk you through constructing and installing a doorframe without any trouble in 10 steps.
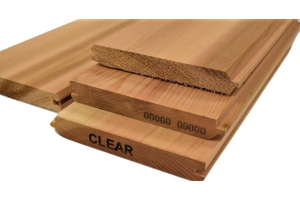
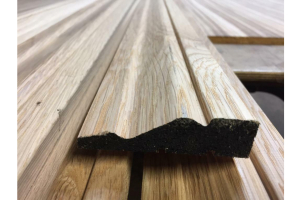
Quay Timber offers high quality dressed redwood at 125x25 and 150x25 for constructing doorframes, and oak, redwood and MDF architrave, skirting and backmoulds to finish the job beautifully. We can machine orders to custom shapes and specifications as required.
Just call 0191 224 0494
Pre-Made Door Casing
If you have purchased a premade casing, these steps will help you to install it.
-
Use a spirit level to determine the straightness of the walls. Consider whether the level will sit flat against the wall or if a gap will be left.
-
Make adjustments to the brick or plaster walls with a hammer and chisel. This will ensure that the wall will provide a relatively straight line for the frame to be fixed against.
-
Measure the width and height of the doorway. Remember that the width at the top might not necessarily be the same as at the bottom, especially in older buildings.
-
If the gap in the doorway is too large, you may have to add an additional timber frame against the wall. Our dressed redwood selection is ideal for this purpose, coming in a wide variety of thicknesses and lengths.
-
Add glue to the notched rebates in the head of your doorframe.
-
Connect the head of the doorframe into the legs using the rebate and fix with screws.
-
Saw the legs (sometimes called jambs) of your doorframe to match the height of the doorway.
-
Fit the doorframe into the doorway, it should be a tight fit, and may need to be hammered into place using a mallet.
-
Use a spirit level, wedges and thin packers to make any further adjustments. It's not important if there is a slight gap left due to uneven walls as it will be covered by the backmould.
Fitting a combination frame using some packers and a spirit level
-
Fix the frame in place using screws. You may need to drill pilot holes in order to get the screws to pull in against the doorway.
Joining Your Own Doorframe
If you have purchased dressed redwood with the intention of building your own doorframe from scratch, these steps will help you out!
-
First select your timber, for an interior doorframe, 125mm or 150mm by 25mm. A standard length of this is available at 2.4m from Quay Timber.
-
First Measure your doorway’s width and make a note of it. Cut the head of your doorframe to this size so that it fits in the doorway tightly (standard doorframes are 900mm wide). Mark two 25mm wide spaces on either end of the head approximately 10mm from the edges of the head. This will create notched rebate joints for the legs/jambs of the doorframe to sit in.
-
Saw two lines at either end of the head at 10mm deep and hammer out a groove using a sharp 25mm wood chisel.
-
Now measure for the height of your doorway and cut the two legs of your doorframe to size.
-
Follow steps 5 to 9 above.